


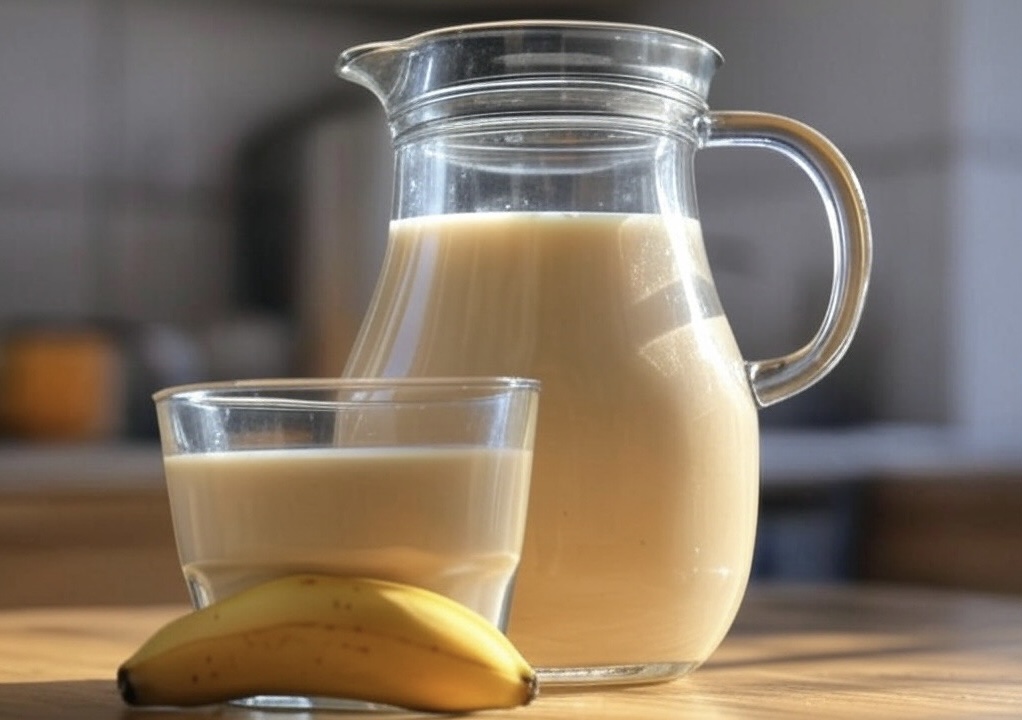
Tiger Nut Milk
Creamy, Nutty & Refreshing!
If you’ve never had tiger nut drink before, you’re in for a treat! This creamy, naturally sweet, and refreshing tiger nut milk drink is packed with nutrients and perfect for any time of the day.
Tiger nuts, despite their name, aren’t nuts at all—they’re small, wrinkled tubers! They’ve been enjoyed for centuries, particularly in Africa and the Mediterranean, where they are used to make drinks like Kunu Aya in Nigeria and Horchata de Chufa in Spain.
This drink isn’t just delicious—it’s also packed with nutrients and naturally lactose-free, making it a fantastic alternative to dairy milk.
But wait—what have you heard about tiger nut drink? Some say it has special “powers” (wink wink). What do you think? Let’s chat in the comments!
Now, let’s dive into making this delicious homemade tiger nut milk drink.
Why You’ll Love This Recipe
Dairy-Free & Nut-Free – Perfect for those with lactose intolerance or nut allergies.
Naturally Sweet & Creamy – Thanks to dates and coconut, this drink is naturally delicious without needing extra sugar.
Nutrient-Rich – Packed with fiber, antioxidants, and essential minerals like magnesium, potassium, and iron.
Versatile – Drink it straight, mix it into smoothies, pour over cereal, or use it as a dairy substitute in recipes.
Easy to Make – With just a few simple ingredients and a blender, you can whip up a fresh batch in no time.
Main Ingredients & Substitutions
- Tiger Nuts (Aya, Chufa, or Earth Almonds) – The star ingredient! Use fresh tiger nuts if available, or dried tiger nuts (soaked overnight to soften).
- Coconut – Adds a rich, creamy texture and a subtle sweetness. You can replace this with almonds if preferred.
- Dates – The natural sweetener. If you want to switch things up, try honey, ripe bananas, or pineapple for a different flavor twist.
- Ginger – Gives the drink a warm, slightly spicy kick and added health benefits. Use more or less depending on your taste.
- Banana (Secret Ingredient!) – This makes the drink extra creamy and smooth, enhancing both the texture and flavor.
- Cold Water – Helps blend everything together while keeping the drink fresh.
Pro Tip: Using cold water instead of room temperature water prevents quick fermentation and helps keep your drink fresher for longer!
Step-by-Step Instructions
1. Prepare the Tiger Nuts
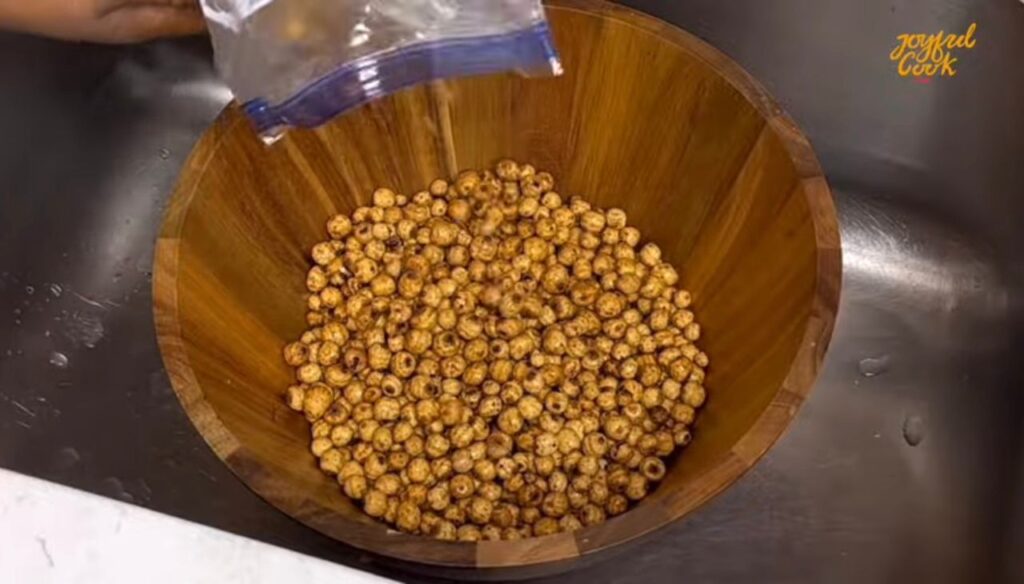
If using fresh tiger nuts, rinse thoroughly until the water runs clear to remove any dust or sand. If using dried tiger nuts, soak them in water for 12 hours to soften, then rinse well.
Pro Tip: Tiger nuts can be quite gritty, so don’t rush the washing process—get rid of all that sand!
2. Prep the Coconut
Crack open your coconut using a hammer or the blunt side of a knife.
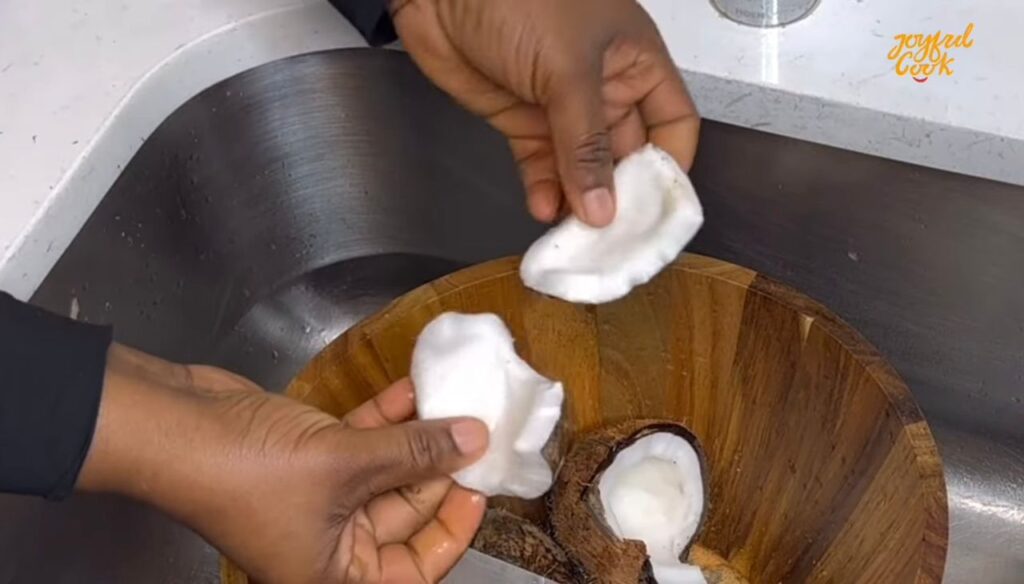
Pro Tip: Avoid using spoiled coconuts, as they can ruin the drink. If your first coconut looks bad, grab another one!
3. Peel the Ginger
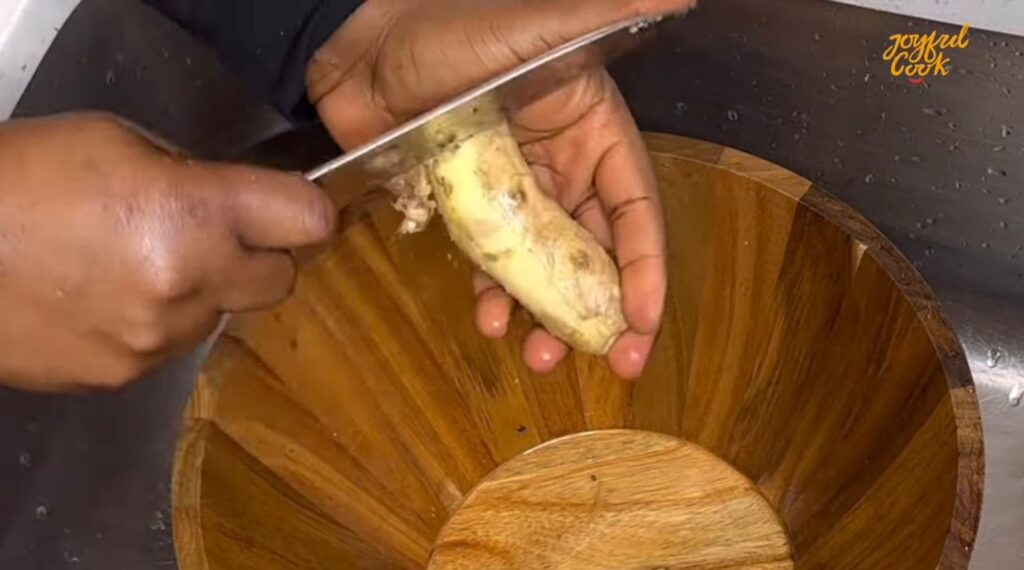
Ginger adds a delightful spicy kick and offers numerous health benefits. Peel the skin or scrub it thoroughly if you prefer to leave it on, then cut it into small pieces.

Now carefully remove the coconut flesh, rinse it thoroughly, and cut it into smaller pieces along with the ginger.

4. Prepare the Dates

Dates are our natural sweetener. Slice each date open and remove the seed.
Pro Tip: If your dates are tough, soak them in warm water for a few minutes to soften before blending (your blender will break if you put them in the blender with the seed).

5. Blend Everything Together
Now, add the tiger nuts, coconut pieces, ginger, dates, and banana into a blender. Pour in enough cold water to blend smoothly.

Secret Tip: Using cold water instead of room temperature water prevents the drink from getting sour quickly!
Blend on high speed until everything is completely smooth.

If your blender isn’t very powerful, blend in batches to ensure a fine texture.
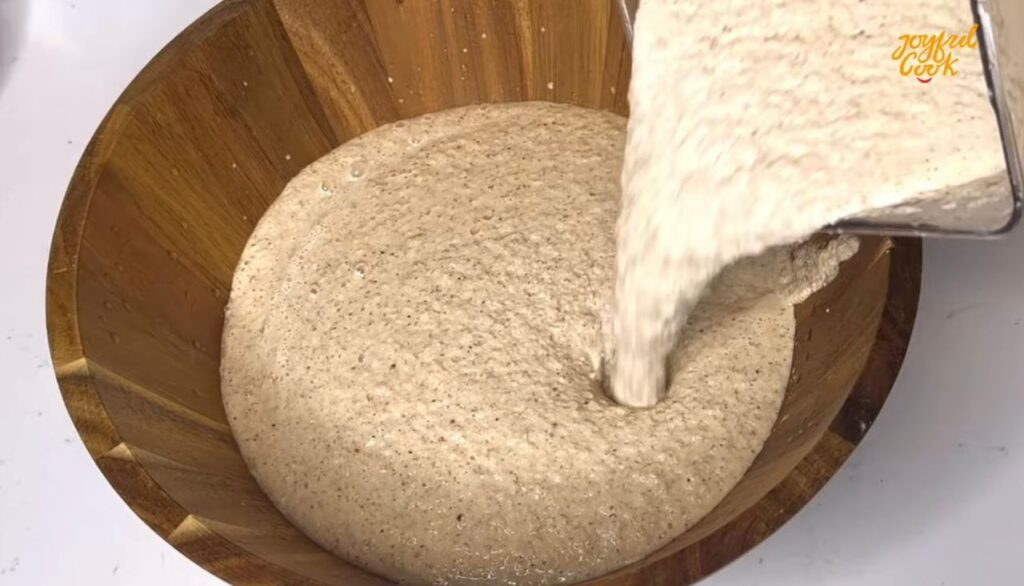
6. Strain the Drink
Using a clean chiffon cloth or nut milk bag, pour the blended mixture through and squeeze out as much milk as possible.
Extra Step: If the pulp isn’t fully blended, put it back into the blender with a little more water and blend again to extract all the goodness.
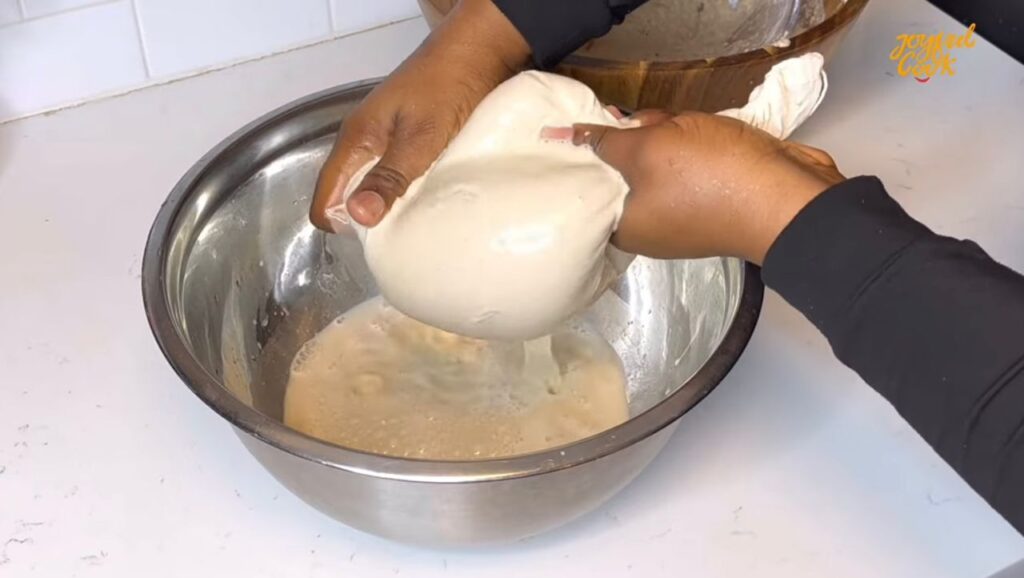
7. Second Strain for Smoothness
For an ultra-smooth drink, strain the milk a second time through a finer sieve or clean cloth. This helps catch any remaining pulp.
Pro Tip: To keep the drink cold while straining, place a bowl of ice under the container. This also helps prevent souring.
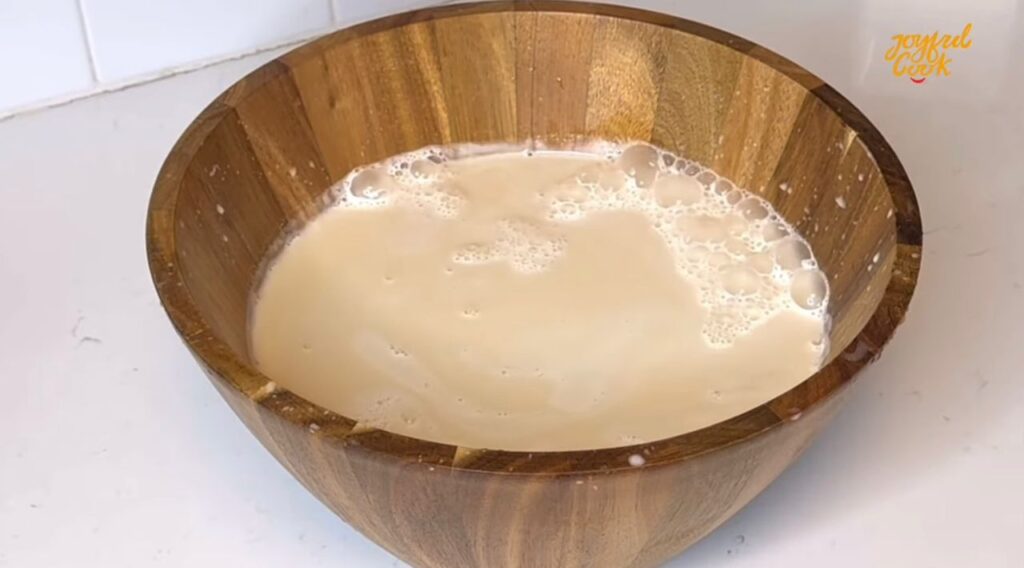
8. Chill & Serve
Pour the freshly extracted tiger nut milk into a clean bottle or jar and refrigerate. Serve chilled for the best experience!

Customization & Variations

Tiger nut milk is amazing on its own, but you can experiment with flavors to suit your taste:
Peanuts – Add a handful while blending for a richer, nuttier taste. (This is common in some Kunu drinks too.)
Vanilla Extract – Enhances the flavor with a subtle, aromatic sweetness.
Cinnamon or Nutmeg – Adds warmth and spice.
Pineapple – Skip the dates and use pineapple for a tropical twist.
Extra Banana – Makes the drink even creamier and thicker.
Want something even creamier? Try mixing in some soaked oats—like in our Tigernut Pudding!
Feel free to mix and match your favorite flavors!
How to Serve Tiger Nut Milk

- Enjoy cold straight from the fridge.
- Blend into smoothies for extra creaminess.
- Pour over granola or cereal as a dairy-free milk alternative.
- Use in baking or desserts for added flavor.
- Freeze into popsicles for a refreshing snack.
Storage Tips
- Refrigeration: Store in an airtight container in the fridge and consume within 2-3 days.
- Freezing: For longer storage, freeze in ice cube trays and blend when needed.
Pro Tip: Tiger nut milk ferments quickly, so always store it cold and make small batches for the freshest taste.
FAQs
1. Can I make tiger nut drink without coconut?
Yes! Coconut adds richness, but you can skip it or replace it with almonds for a different twist.
2. Why is my tiger nut drink sour?
Tiger nut drink can ferment quickly. To prevent this:
- Use cold water when blending.
- Work quickly and refrigerate immediately.
- Store in an airtight container in the fridge.
3. What can I do with the leftover pulp?
Don’t waste it! Use it for:
- Adding to smoothies for extra fiber.
- Mixing into baked goods like cookies.
- Drying and grinding into tiger nut flour.
4. Can I add other flavors?
Absolutely! Try adding:
- Vanilla extract for a subtle sweetness.
- Cinnamon or nutmeg for warmth.
- A little honey for extra richness.
Final Thoughts
So, back to my question—what have you heard about tiger nut drink? I’d love to hear your thoughts in the comments!
For more Nigerian drinks, check out our refreshing Zobo Drink or rich Coconut Rice to pair it with a meal.
And if you try this recipe, tag @joyfulcook on Instagram so I can see your delicious creations.
Stay hydrated and enjoy your homemade tiger nut milk! See you in the next recipe.


You May Also Like
Nigerian Fried Rice
Fish Fried Rice
Delicious Stewed Beans
Zobo drink
HI, I’M Joyful Cook
In the kitchen, I find joy in experimenting with flavors, crafting unique dishes, and sharing my love for food with others...
Connect with me
Recent Recipes