


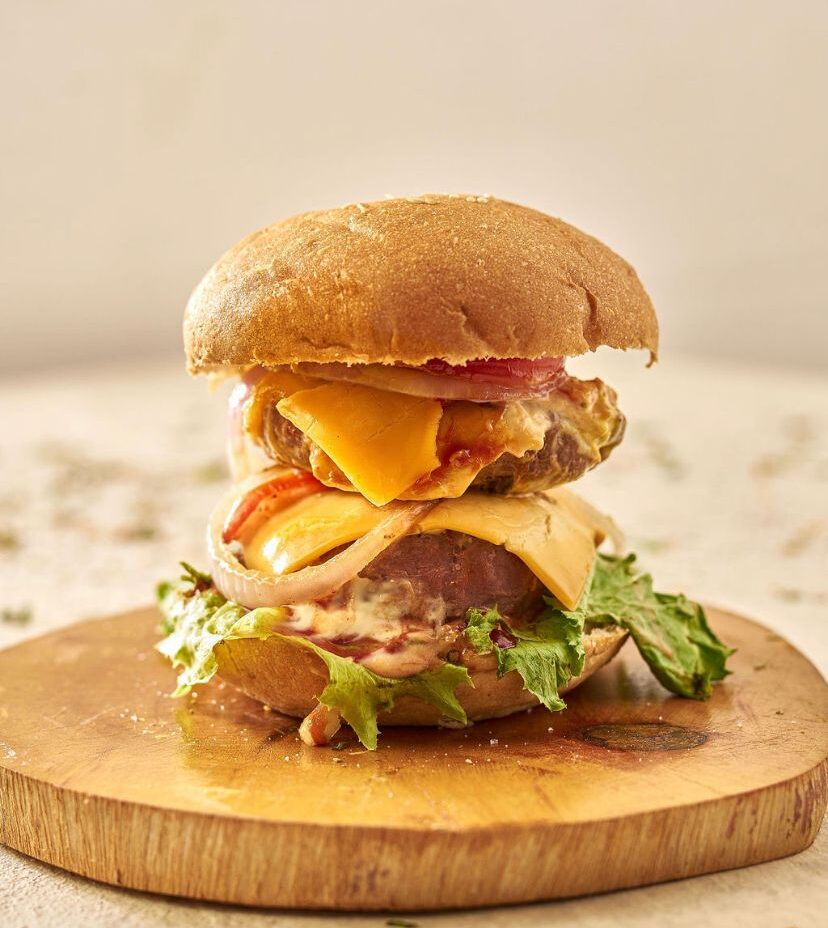
Beef Burger
The Best Homemade Beef Burger
What makes a burger unforgettable? The beef patty! Juicy, flavorful, and perfectly seasoned, a well-made patty takes an ordinary burger to the next level. This recipe is simple yet packed with rich, smoky flavors. With the right balance of seasoning and technique, you’ll get a restaurant-quality burger right at home.
“A great burger is all about the perfect balance of flavors and textures!”
So, let’s get cooking!
The Perfect beef patties
Why Homemade?
Making your own beef patties means total control over flavor, texture, and quality. No fillers, no preservatives—just pure, delicious beef seasoned to perfection. The secret? Using the right meat-to-fat ratio. A good burger patty needs about 20% fat for that juicy, melt-in-your-mouth bite. Skip the lean cuts—fattier beef equals a more flavorful burger.
What You’ll Need
For the Beef Patties
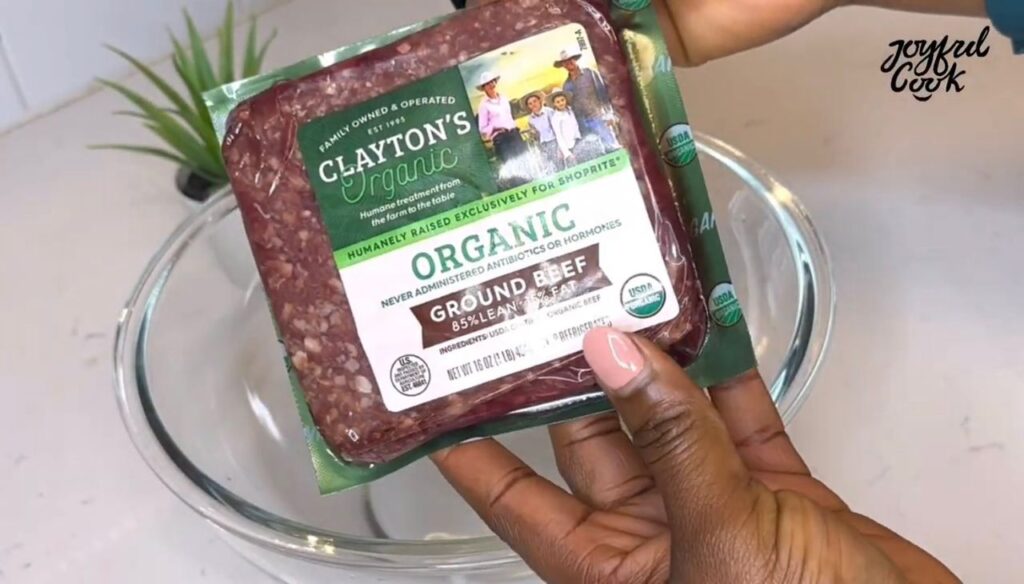
- 1 lb (500g) ground beef (preferably with 50% fat for juiciness)
- 1 tsp ground ginger
- 1 tsp onion powder
- 1 tsp garlic powder
- ½ tsp beef seasoning
- ½ tsp salt (adjust to taste)
- ½ tsp black pepper
For the Caramelized Onions
- 1 large onion, thinly sliced
- 1 tbsp unsalted butter
- A pinch of salt
For the Burger Sauce
- ½ cup mayonnaise
- 1 tbsp mustard
- 1 tbsp ketchup
For Assembling the Burger
- 4 burger buns
- 4 cheese slices (any preferred type)
- 1 large tomato, sliced
- 4 lettuce leaves
- 1 tbsp butter (for toasting buns)
A Closer look at some important ingredients
- Ground Beef (80/20 mix) – The ideal fat-to-meat ratio for juicy, flavorful patties.
- Onion Powder & Garlic Powder – Adds depth and enhances the beefy taste.
- Black Pepper & Salt – Simple but essential for seasoning.
- Ground Ginger – A subtle boost of flavor.
- Beef Seasoning – Just a touch to amplify the taste.
- Butter & Oil – Used for cooking to create a golden crust while keeping the inside tender.
How Do You Like Your Burgers? Juicy or Charred?
Some love a lightly seared burger with a soft bite, while others prefer a smoky, charred crust. If you love that classic grill taste, crank up the heat a little to get a perfect crust on your beef patty. If you want a juicier burger, cook on medium heat and let it slowly release its juices.
Let’s Make It!
1. Caramelize the Onions
Melt butter in a pan over medium-low heat, then add sliced onions.
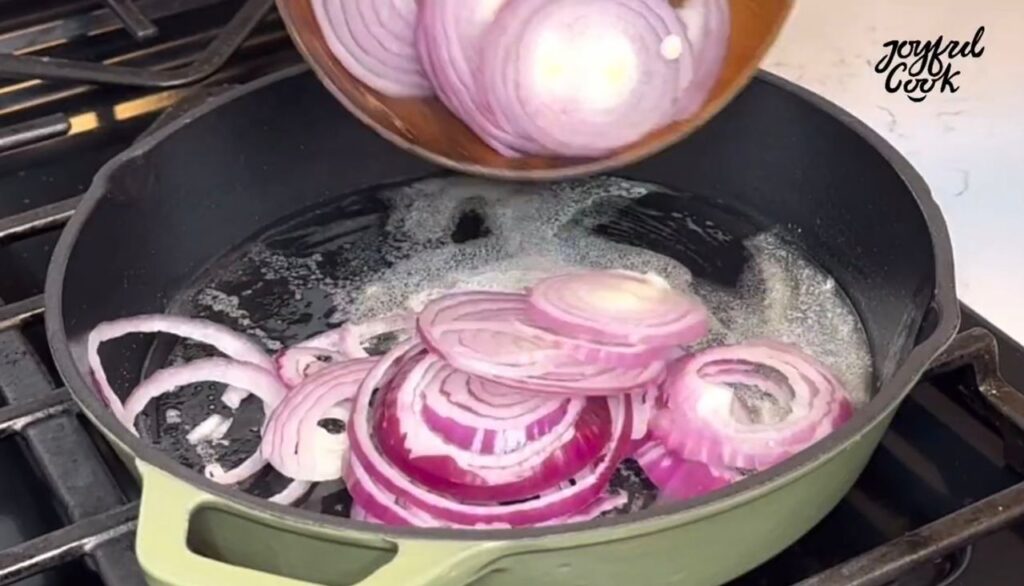
Stir frequently and let them cook until they turn golden brown.
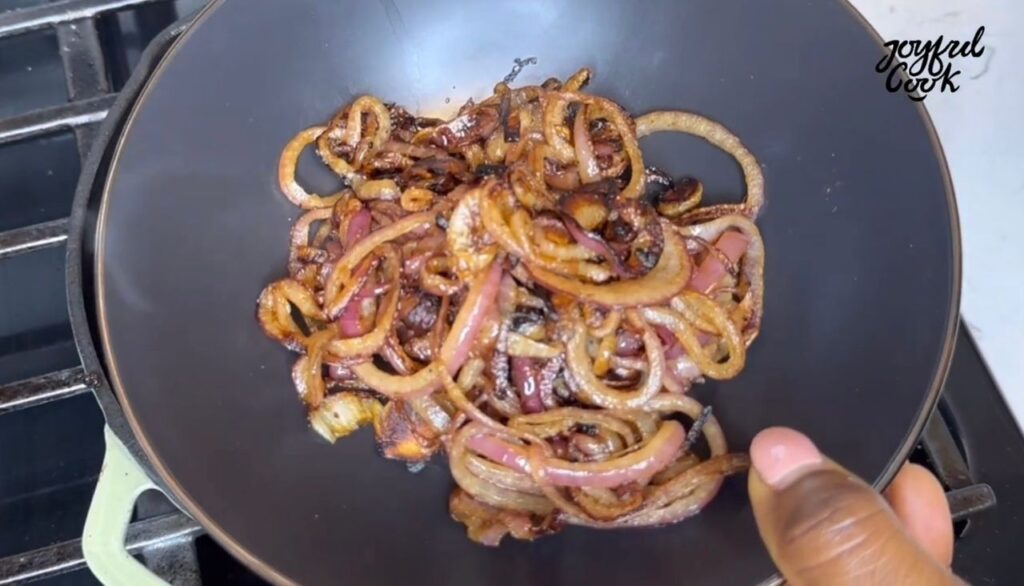
This slow process brings out their natural sweetness and adds an extra layer of flavor to the burger.
Pro Tip: Adding a pinch of salt helps draw out moisture, speeding up the caramelization.
2. Prepare the Patty Mix
In a bowl, combine ground beef, onion powder, garlic powder, black pepper, salt, ground ginger, and a bit of beef seasoning.
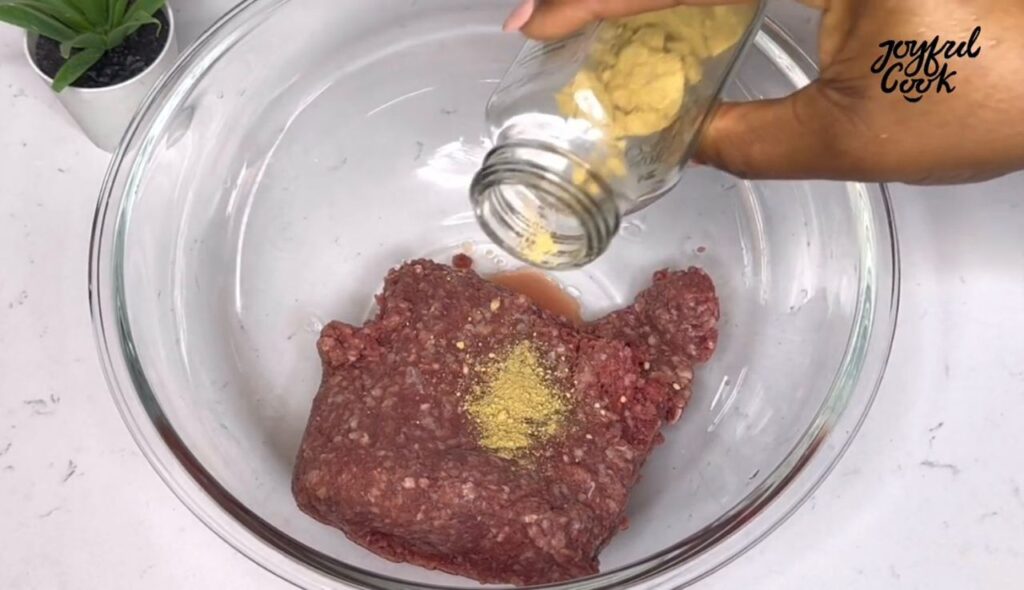
Mix well but don’t overwork the meat—over-mixing makes the patties tough.
3. Shape the Patties
Form the beef mixture into patties, pressing gently to maintain juiciness. If you have a patty press, use it for even shaping. For extra thick patties, create a slight indent in the center to prevent shrinking while cooking.
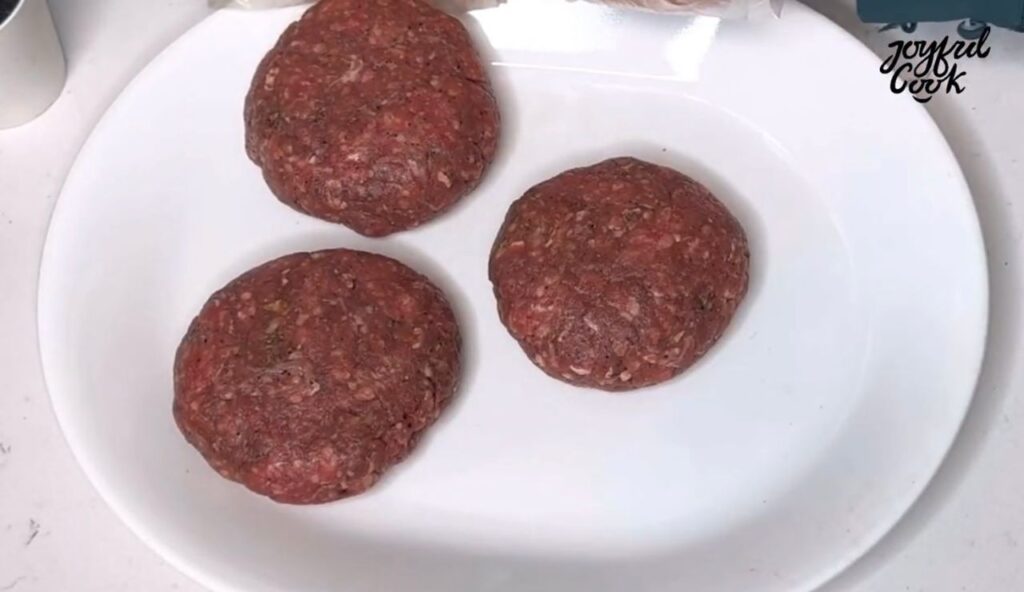
Size Guide:
- Standard burger – 150g (about 1/3 pound)
- Thicker burger – 180-200g
- Sliders – 60-80g
4. Cook the Patties
Heat a pan or grill over medium-high heat. Add a bit of oil, then place the patties in. Cook for 4–5 minutes per side for a perfect medium-well doneness. If you like a charred, smoky flavor, turn the heat up slightly for the last minute of cooking.
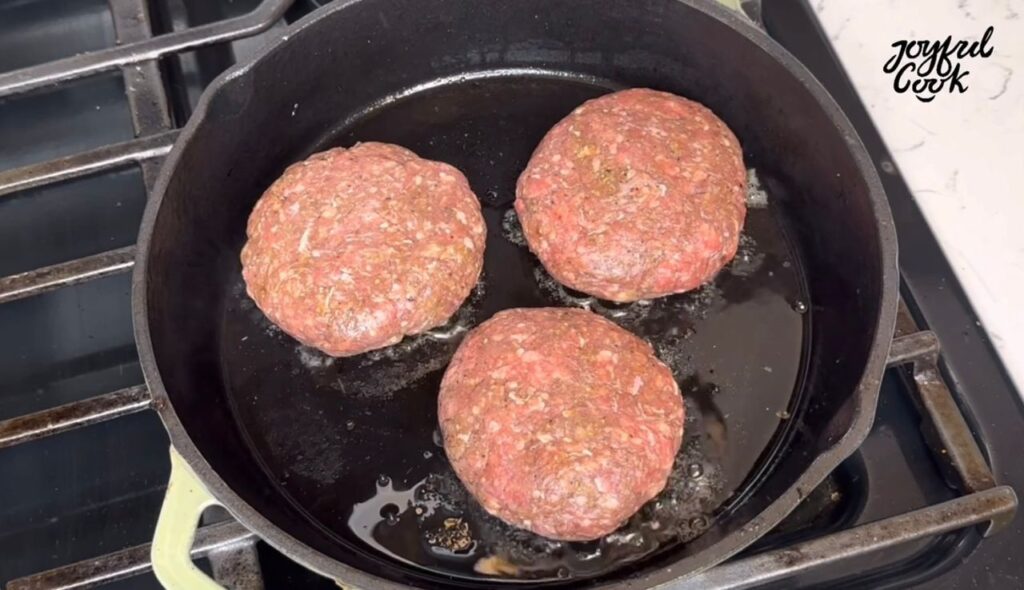
Pro Tip: Pressing the patty while cooking releases juices—avoid doing this to keep them moist!
5. Melt the Cheese
One minute before removing the patties from the pan, place a slice of cheese on top. Cover with a lid for a few seconds to help it melt perfectly.
6. Toast the Burger Buns
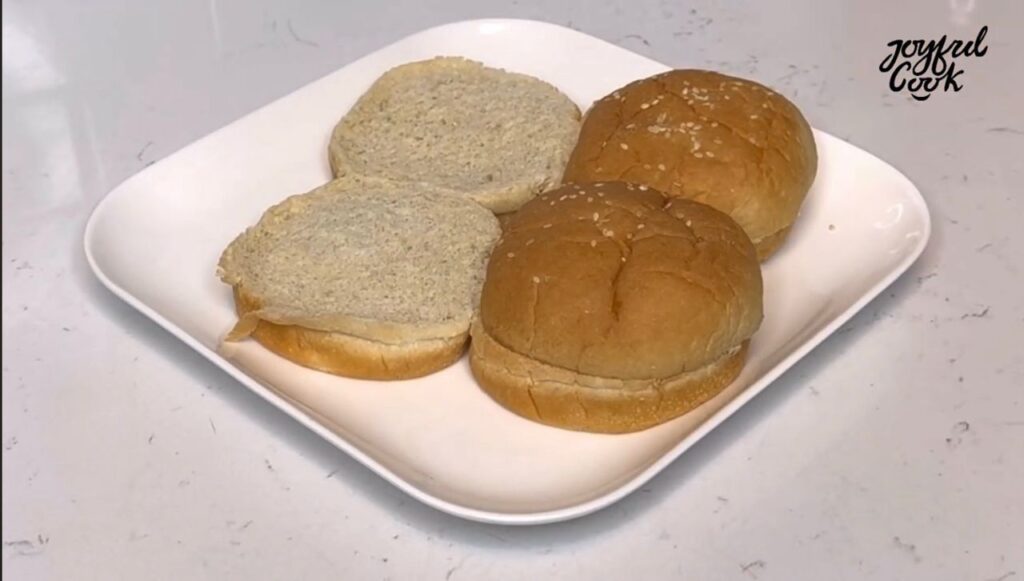
Lightly butter the cut sides of the buns and toast them in a pan over medium heat. This creates a crisp base that keeps the buns from getting soggy.
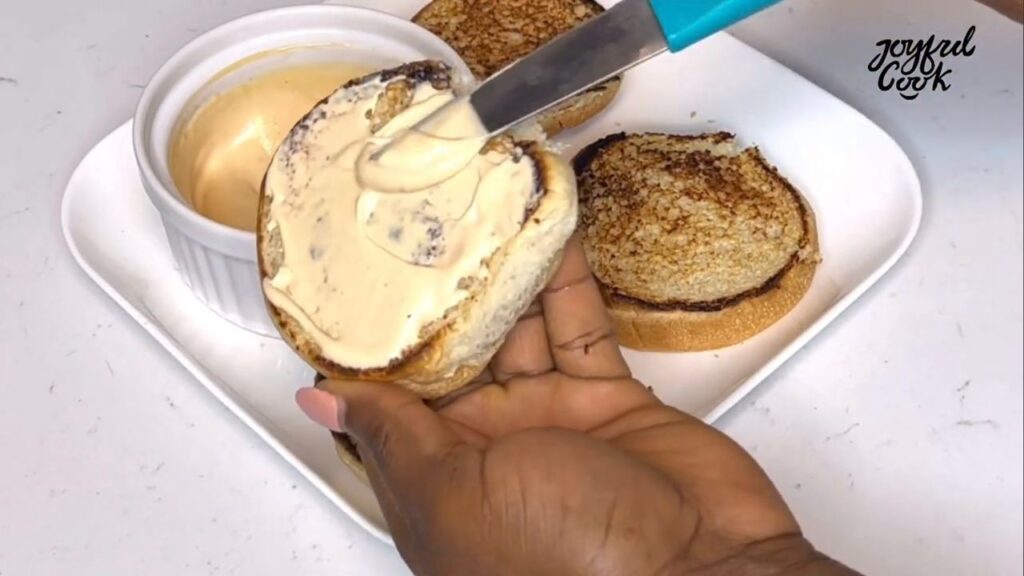
Assembling the Perfect Burger
Now comes the fun part—building your burger! Here’s the perfect stack:
- Bottom bun – Spread a generous layer of homemade burger sauce.
- Lettuce – Adds freshness and crunch.
- Sliced tomatoes – Juicy and vibrant.
- Beef patty with melted cheese – The star of the show!
- Caramelized onions – Sweet and rich in flavor.
- Top bun – Lightly spread with more sauce for extra flavor.
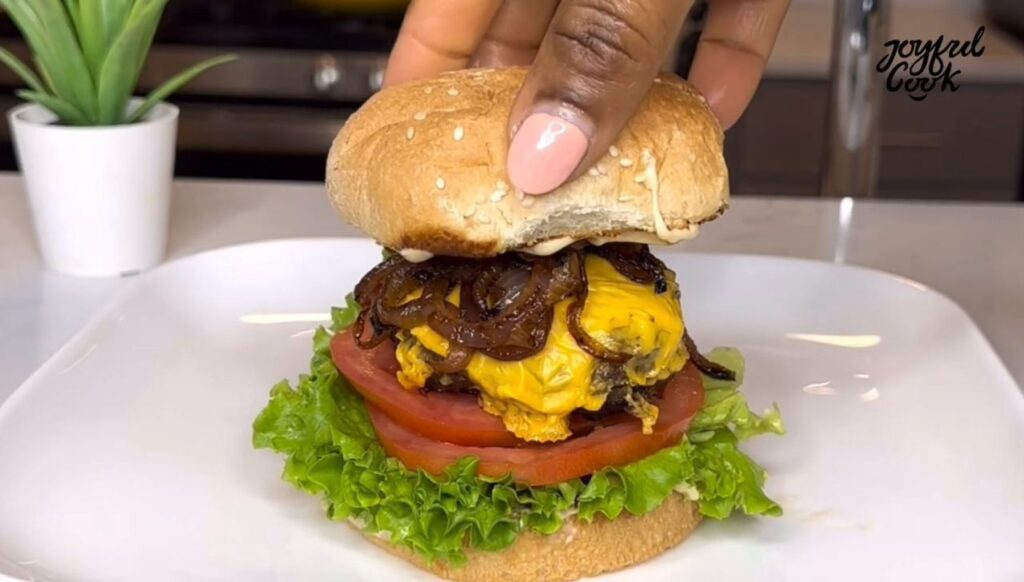
Press down slightly, take a bite, and enjoy the ultimate homemade burger experience.

Pro Tip: Letting the burger rest for 2-3 minutes before eating allows the juices to settle, making every bite more flavorful.
Burger Variations to Try
- Spicy Jalapeño Burger – Add sliced jalapeños and a spicy mayo sauce.
- BBQ Bacon Burger – Drizzle with BBQ sauce and add crispy bacon.
- Mushroom Swiss Burger – Sauté mushrooms and top with Swiss cheese.
- Avocado Burger – Add creamy avocado slices for extra richness.
How to Serve Your Burger
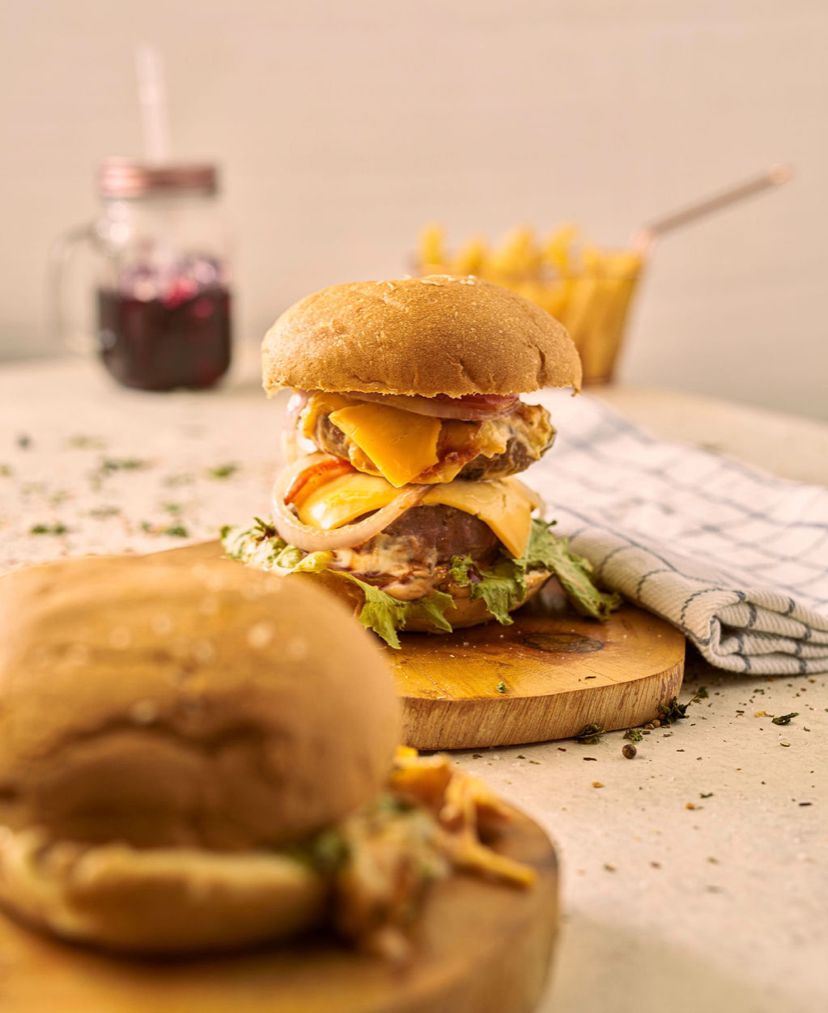
- Classic Style: Pair with crispy fries and a cold soda.
- Healthy Option: Serve with a fresh salad or grilled veggies.
- Gourmet Style: Enjoy with sweet potato fries and a homemade dipping sauce.
FAQs
Can I use lean beef?
It’s not recommended. A good burger needs fat for juiciness. Aim for an 80/20 beef-to-fat ratio for the best results.
What’s the best cheese for burgers?
Classic options include cheddar, American, or Swiss cheese, but feel free to experiment with blue cheese, gouda, or pepper jack for a gourmet touch.
How do I store leftover patties?
Cooked patties can be stored in an airtight container in the fridge for up to 3 days. For longer storage, freeze them for up to 2 months and reheat when needed.
Can I grill these instead of pan-frying?
Absolutely! Grill over medium-high heat, flipping once, until the internal temperature reaches 160°F (71°C) for well-done burgers.
Storage & Make Ahead Tips
How to Store Leftover Patties
If you have extra burger patties, don’t let them go to waste! Here’s how to store them properly:
Refrigerator (Short-Term Storage)
- Cooked patties can be stored in an airtight container in the fridge for up to 3 days.
- When reheating, warm them in a pan over medium heat for 2–3 minutes per side, or in the oven at 300°F (150°C) for 10 minutes.
Freezer (Long-Term Storage)
- Place cooked patties on a baking sheet lined with parchment paper and freeze for 1 hour (this prevents them from sticking together).
- Transfer to a freezer-safe ziplock bag or container, separating layers with parchment paper. Store for up to 2 months.
- To reheat, thaw in the fridge overnight, then warm in a pan, oven, or microwave.
Freezing Raw Burger Patties
Want to prep burgers in advance? Raw patties freeze beautifully and make busy weeknight meals much easier.
How to Freeze Uncooked Patties
- Shape the patties as usual and place parchment paper between each patty to prevent sticking.
- Stack them in an airtight container or freezer bag, pressing out excess air.
- Label with the date and store for up to 3 months.
Cooking from Frozen
- No need to thaw! Cook frozen patties over medium heat, adding 2–3 extra minutes per side.
- If using a grill, cook over medium-low heat first, then increase to medium-high to get that perfect sear.
Make-Ahead Tips for a Quick Meal
- Season patties in advance – Mix the beef and shape the patties up to 24 hours ahead. Keep them covered in the fridge.
- Pre-slice toppings – Cut tomatoes, onions, and lettuce ahead of time and store them in separate containers in the fridge.
- Toast the buns early – Lightly toasting the buns in advance saves time. Just warm them for a few seconds before serving.
With these tips, you’ll always have delicious, homemade burgers ready to go with minimal effort!
Want the perfect side dish? Try Homemade Pancakes for brunch
Final Thoughts
This burger is the perfect balance of juiciness, flavor, and texture. The well-seasoned beef, melty cheese, and toasted bun come together to create a truly satisfying meal. A homemade beef burger that’s juicy, flavorful, and better than anything you’ll get at a fast-food joint! This burger has perfectly seasoned beef patties, caramelized onions, fresh veggies, and a simple yet delicious burger sauce—all packed into a toasted bun.
Pair it with crispy fries, a cold drink, and a side of extra sauce for dipping—perfection!
Try it and let me know how it turns out! Don’t forget to send pictures on Instagram @joyfulcook__ Happy cooking!


Wow I never thought making a burger at home could taste this good better than most restaurants keep up the good work ma.
Thank you Ada I’m glad it turned out well
This was delicious, but my patties shrank a lot while cooking. Any idea how to prevent that?
Hello Amaka, Patties shrink because of fat loss and high heat. To prevent this make a small dent in the center before cooking and avoid pressing them while on the pan. Hope this helps!
The step by step instructions were super helpful. My burger turned out juicy and full of flavor. Can’t wait to try more recipes
I was a bit skeptical at first, but wow this burger was amazing. The seasoning was just right, and my husband said it’s the best burger I’ve made. Definitely saving this recipes Thankyou joyfulcook
I followed your recipe exactly and the results were amazing. Thankyou
This burger looks so juicy and loaded. I love how you kept it simple