


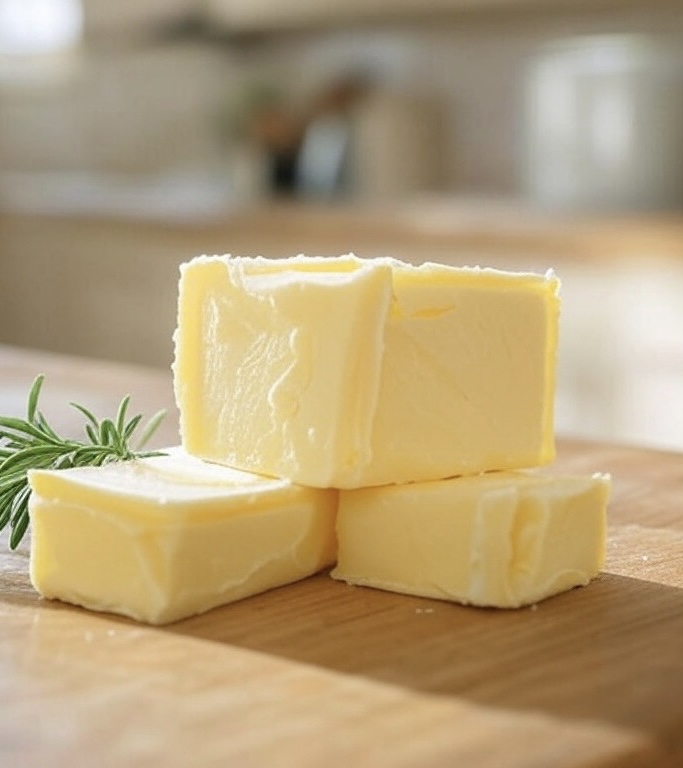
Easy Homemade Butter
Did you know you can make your own butter from scratch using just one ingredient? Yes! Making butter at home is incredibly easy, and the best part is—you know exactly what’s in it. No preservatives, no unnecessary additives, just fresh, creamy butter. Plus, I’ll show you how to take it up a notch by turning it into a delicious roasted garlic herb butter that’s perfect for cooking, spreading on bread, or adding to your favorite dishes.
Let’s get started!
Why Make Your Own Butter?
Making butter at home is not only simple but also rewarding. It’s fresher, creamier, and more flavorful than store-bought versions. Plus, you get a bonus: homemade buttermilk, which can be used for biscuits, pancakes, fried chicken, and more!
- Only One Ingredient – No preservatives, just pure creamy goodness.
- Bonus Buttermilk – Perfect for pancakes, biscuits, and fried chicken.
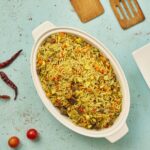
- Super Versatile – Use it for toast, cooking, or even Jollof rice!
- Customizable Flavors – Add herbs, honey, or even cinnamon for a twist.
What You’ll Need
For Plain Butter
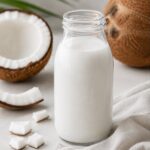
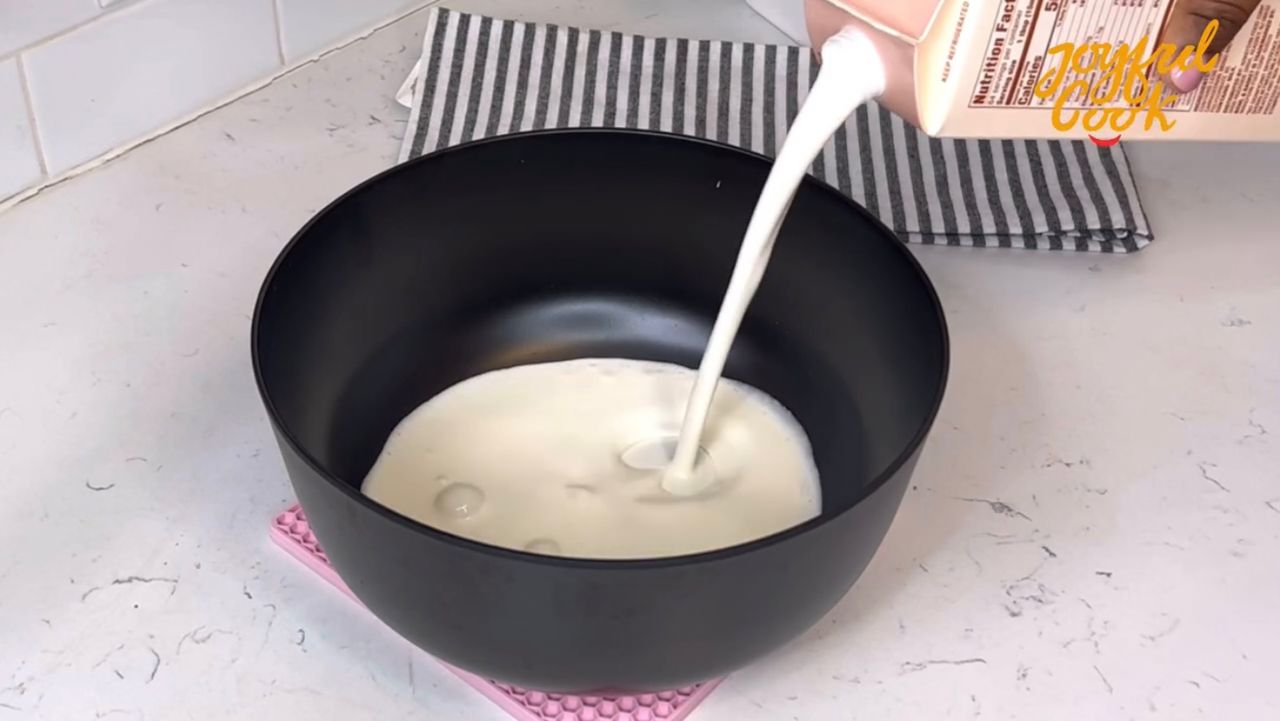
- 2 cups heavy whipping cream (cold)
- Ice water (for rinsing)
For Roasted Garlic Herb Butter
- Homemade butter (from the steps below)
- 1 bulb of garlic
- 1 teaspoon olive oil
- ½ teaspoon salt (adjust to taste)
- 1 teaspoon fresh dill or parsley (finely chopped)
- ¼ teaspoon chili flakes (optional, for a slight kick)
How to Make Butter from Scratch
Step 1: Whip the Cream
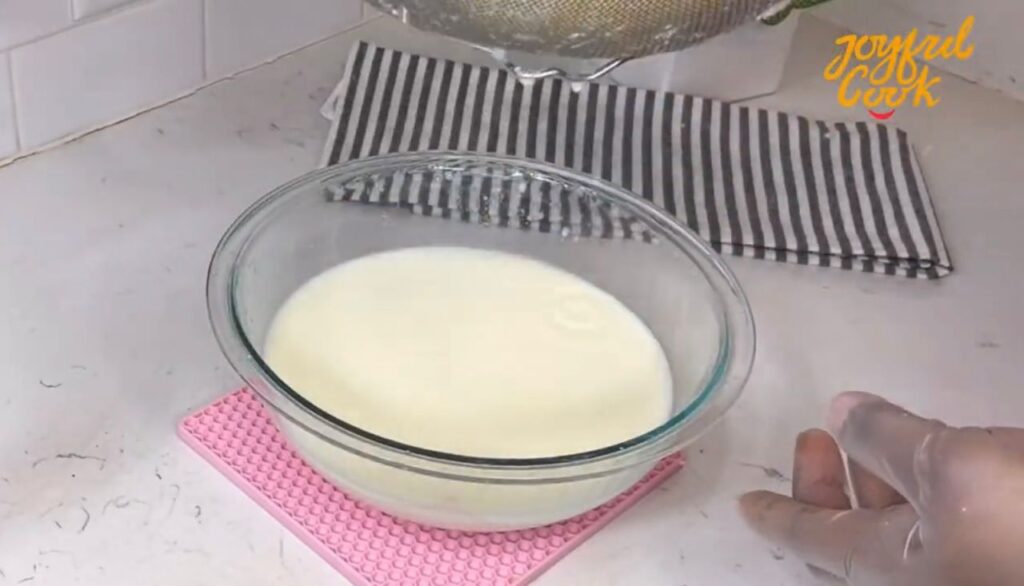
- Pour the cold heavy whipping cream into a mixing bowl.


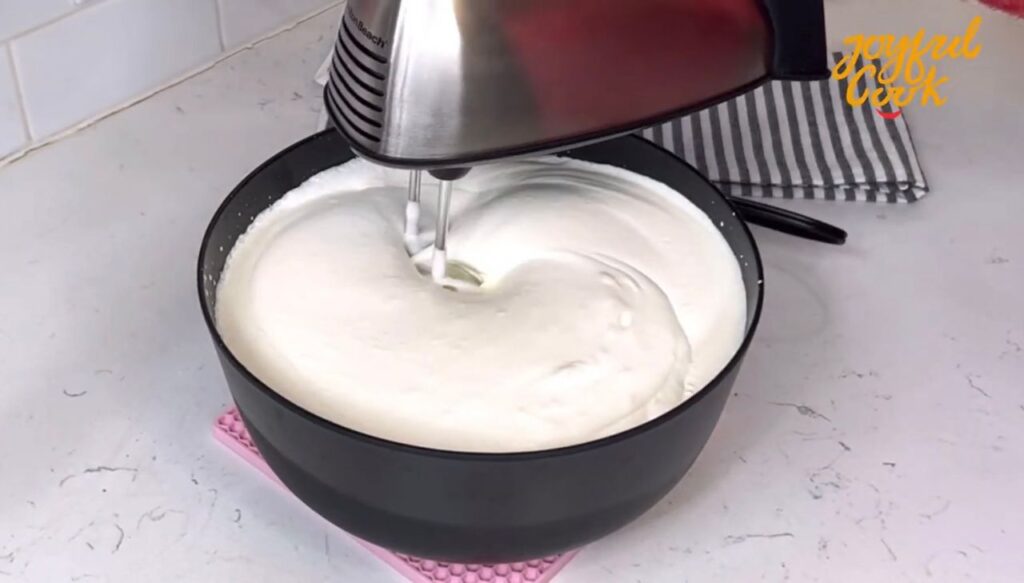
- Using a hand mixer (or stand mixer), whip the cream on medium-high speed.
- First, it will turn into whipped cream.
- Keep mixing, and it will become thicker and grainy.
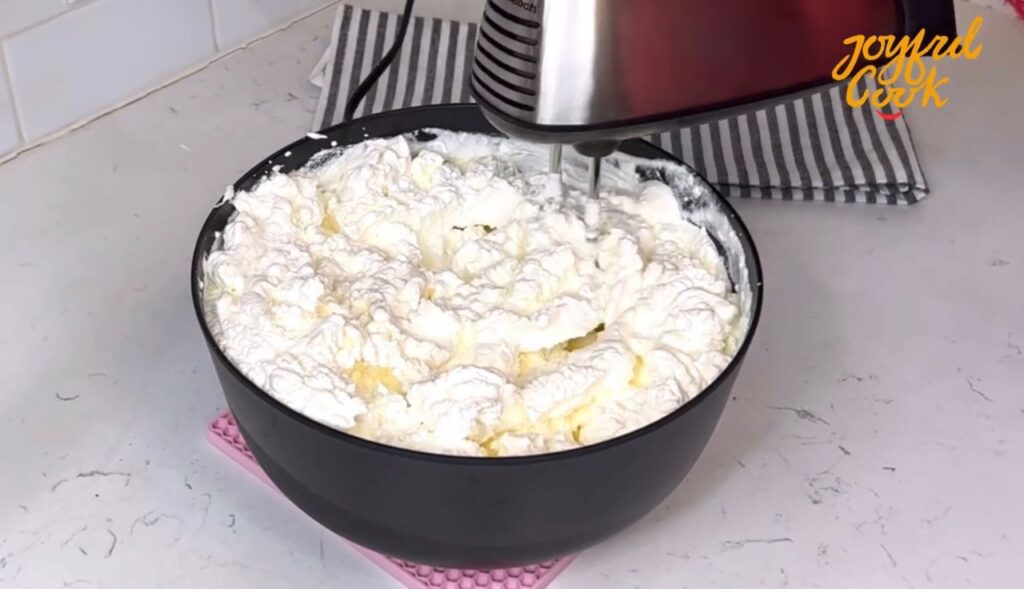
- Eventually, the butter will separate from the buttermilk—this is when you know it’s ready!
(Fun fact: If you’ve ever overwhipped cream while making dessert, congratulations—you made butter!)
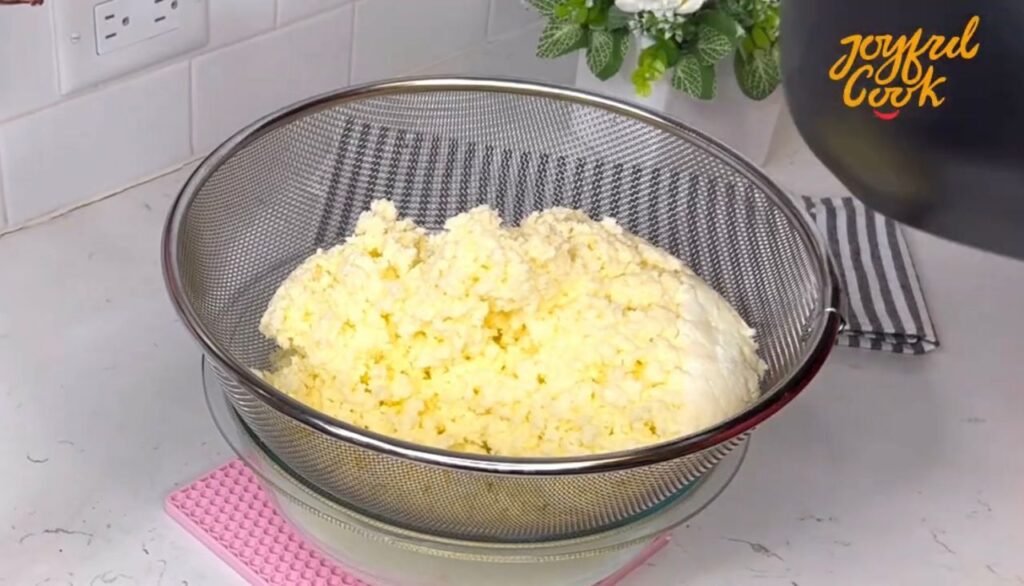
Step 2: Separate the Butter from the Buttermilk
- Once the butter has fully separated, strain out the buttermilk using a sieve.
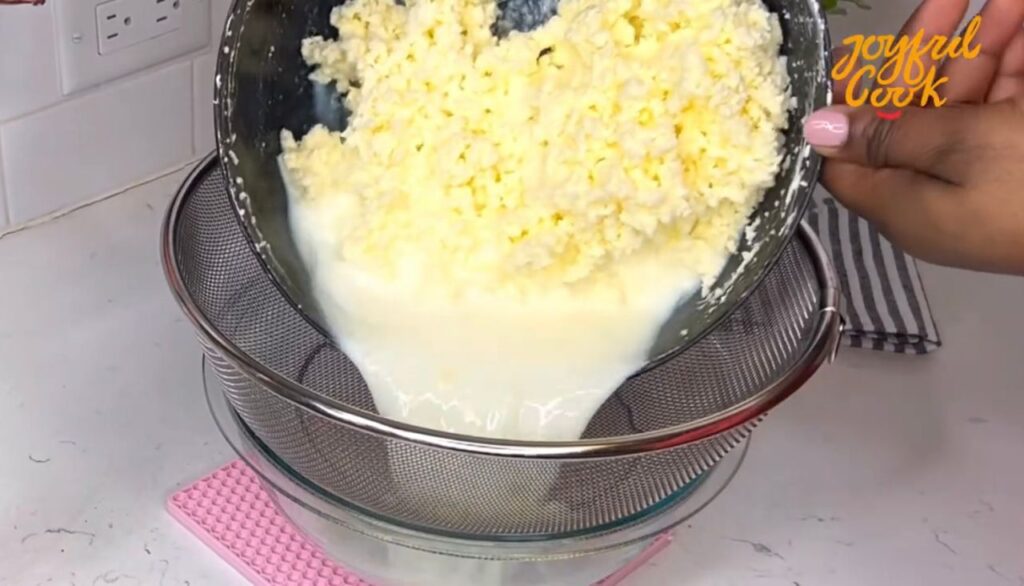
- To remove any remaining buttermilk, press the butter gently with a spoon or your hands.
- Pour the butter milk in a container and store away
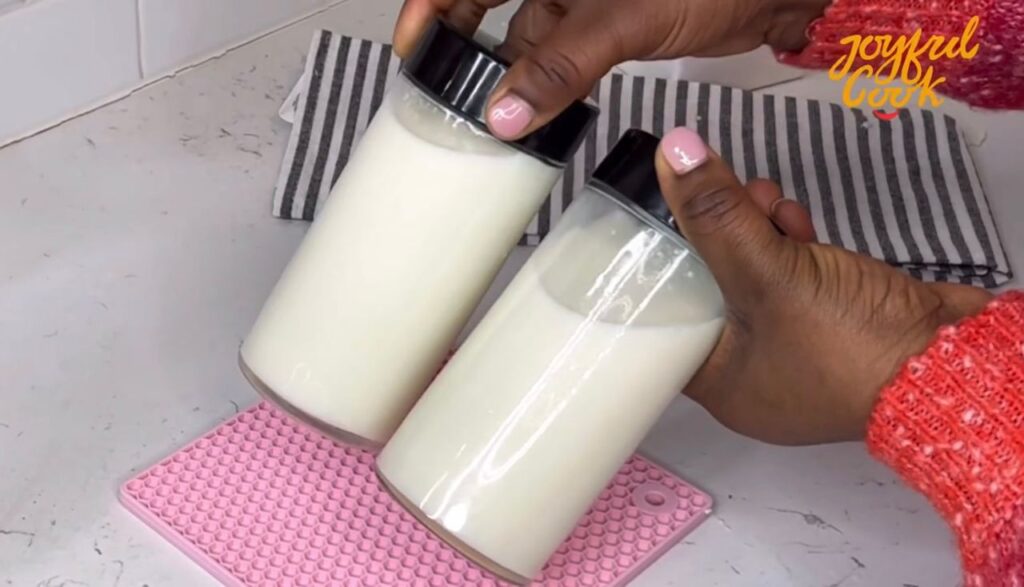
Tip: Don’t throw it away! Buttermilk can be refrigerated and used in recipes that call for it.
Step 3: Rinse the Butter
To make your butter last longer, rinse it in ice water. This step helps remove any leftover buttermilk, which can cause the butter to spoil quickly.
- Add ice water to a bowl, place the butter in it, and knead gently.
- Repeat this process 2-3 times until the water runs clear.
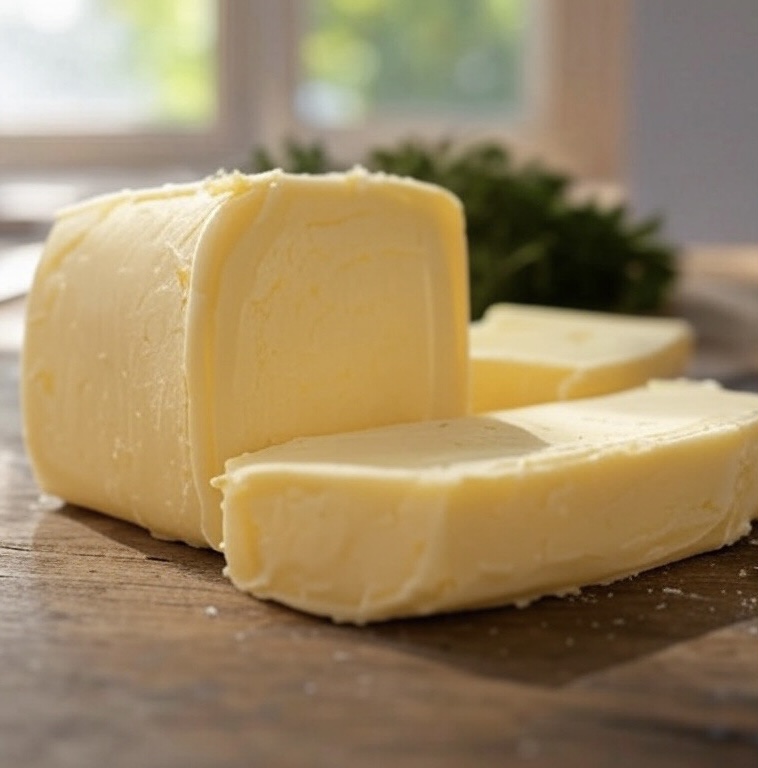
Now you have pure, creamy butter ready to use! But let’s take it up a notch with some roasted garlic and herbs.
How to Make Roasted Garlic Herb Butter
Step 1: Roast the Garlic
- Cut the top off a garlic bulb and drizzle olive oil over it.
- Wrap it in foil and roast in an oven at 375°F (190°C) for 25-30 minutes (or in an air fryer at 360°F for 20 minutes) until soft and caramelized.
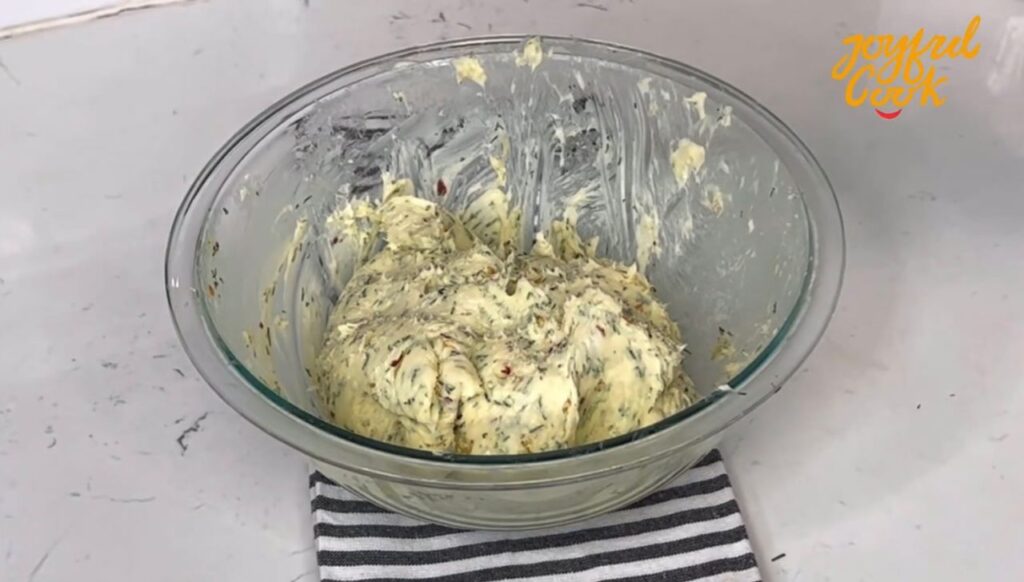
Step 2: Mix the Ingredients
- Mash the roasted garlic cloves into a paste.
- Add it to your homemade butter along with salt, chopped herbs, and chili flakes (if using).
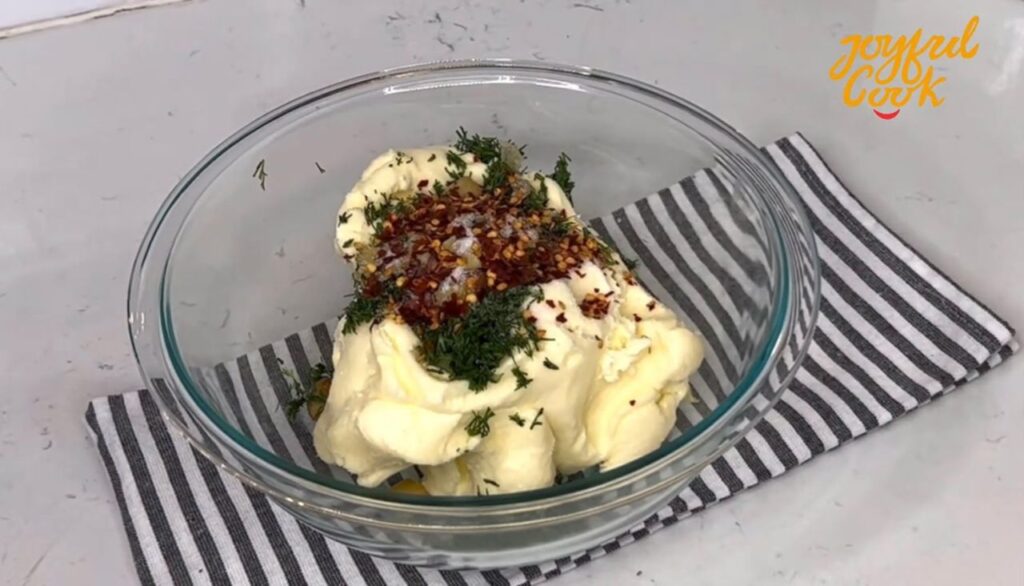
- Mix well using a spoon or hand mixer until everything is combined.
Step 3: Shape and Store
- Transfer the flavored butter onto parchment paper or foil, then roll it into a log shape.
- Refrigerate for at least 30 minutes to 1 hour until firm.
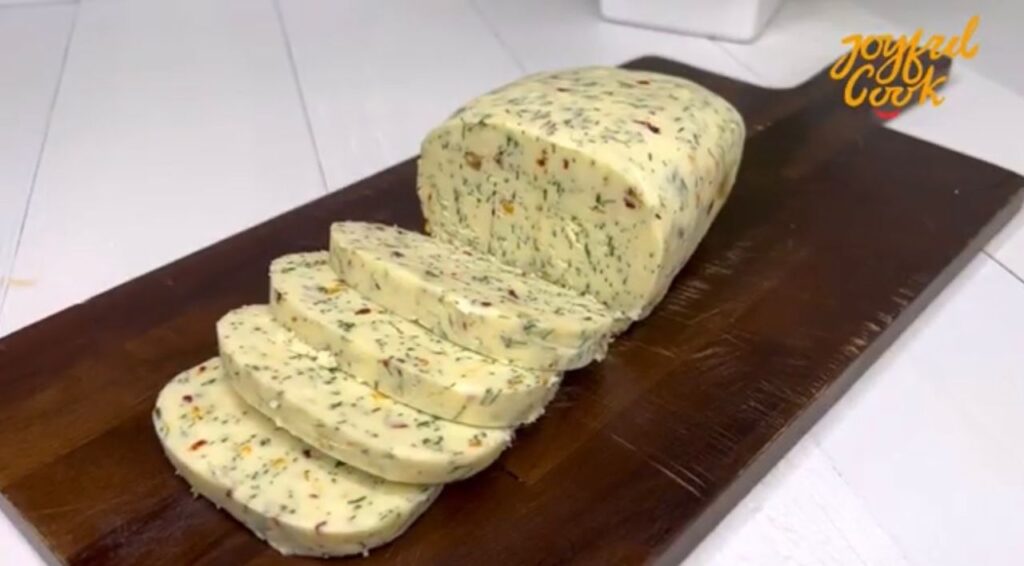
Now, you have a delicious garlic herb butter ready to use!
How to Use Homemade Butter
- Spread it on warm bread or toast
- Use it for cooking rice, pasta, or vegetables
- Melt it over grilled meats or seafood
- Make buttery mashed potatoes
- Enhance the flavor of Nigerian Jollof rice or fried rice
Storage Tips
- Plain Butter: Store in an airtight container in the fridge for up to 2 weeks or freeze for up to 3 months.
- Garlic Herb Butter: Keep in the fridge for up to 1 week or freeze for 1-2 months.
Pro Tip: If your butter hardens in the fridge, let it sit at room temperature for a few minutes before using.)
Final Thoughts
Who knew making butter was this easy? Whether you enjoy it plain or jazzed up with garlic and herbs, homemade butter beats store-bought every time. Try it once, and you’ll never look back!
Tried this recipe? Leave a rating and comment below! I’d love to hear how it turned out for you. Dont forget to tag me on instagram @joyfulcook__


You May Also Like
Nigerian Meat Pie
Fruit & Yogurt Parfait
Perfect Nigerian Puff Puff
Scent leaf sauce
HI, I’M Joyful Cook
In the kitchen, I find joy in experimenting with flavors, crafting unique dishes, and sharing my love for food with others...
Connect with me
Recent Recipes